
Wedding Photoshoot Moodboard Guide: Poses, Props, Locations & Tips
Wedding photoshoot moodboard explained: examples, categories, tips and step-by-step structure to plan your shoot and communicate clearly with your photographer.

Planning a wedding photoshoot can feel exciting but also a little overwhelming. You want beautiful, natural photos that feel like you, but it’s hard to explain that vague picture in your head to a photographer.
That’s exactly why we created this [free] Wedding photoshoot moodboard guide.
A moodboard helps you, your partner, and your photographer align quickly on the vibe, mood, and direction — making communication easier and results more consistent. Most couples think the problem is being camera-shy or “not having an eye for aesthetics,” but in reality it’s usually just the lack of a clear visual reference.
If you’ve ever struggled to explain what you want for your wedding photoshoot, you’re definitely not alone and this guide is for you.
Why a moodboard helps so much
A well-made moodboard can completely change your photoshoot experience.
Here’s why couples love using one:
✔ makes communication easier
✔ helps the photographer understand your taste instantly
✔ reduces awkwardness and uncertainty during the shoot
✔ ensures variety even with limited locations
✔ saves time on shoot day
✔ boosts confidence for camera-shy couples
Instead of trying to explain 'romantic but also playful but not cheesy,' you can just point and say:
“Like this — this is the vibe.” Your photographer will thank you, too.
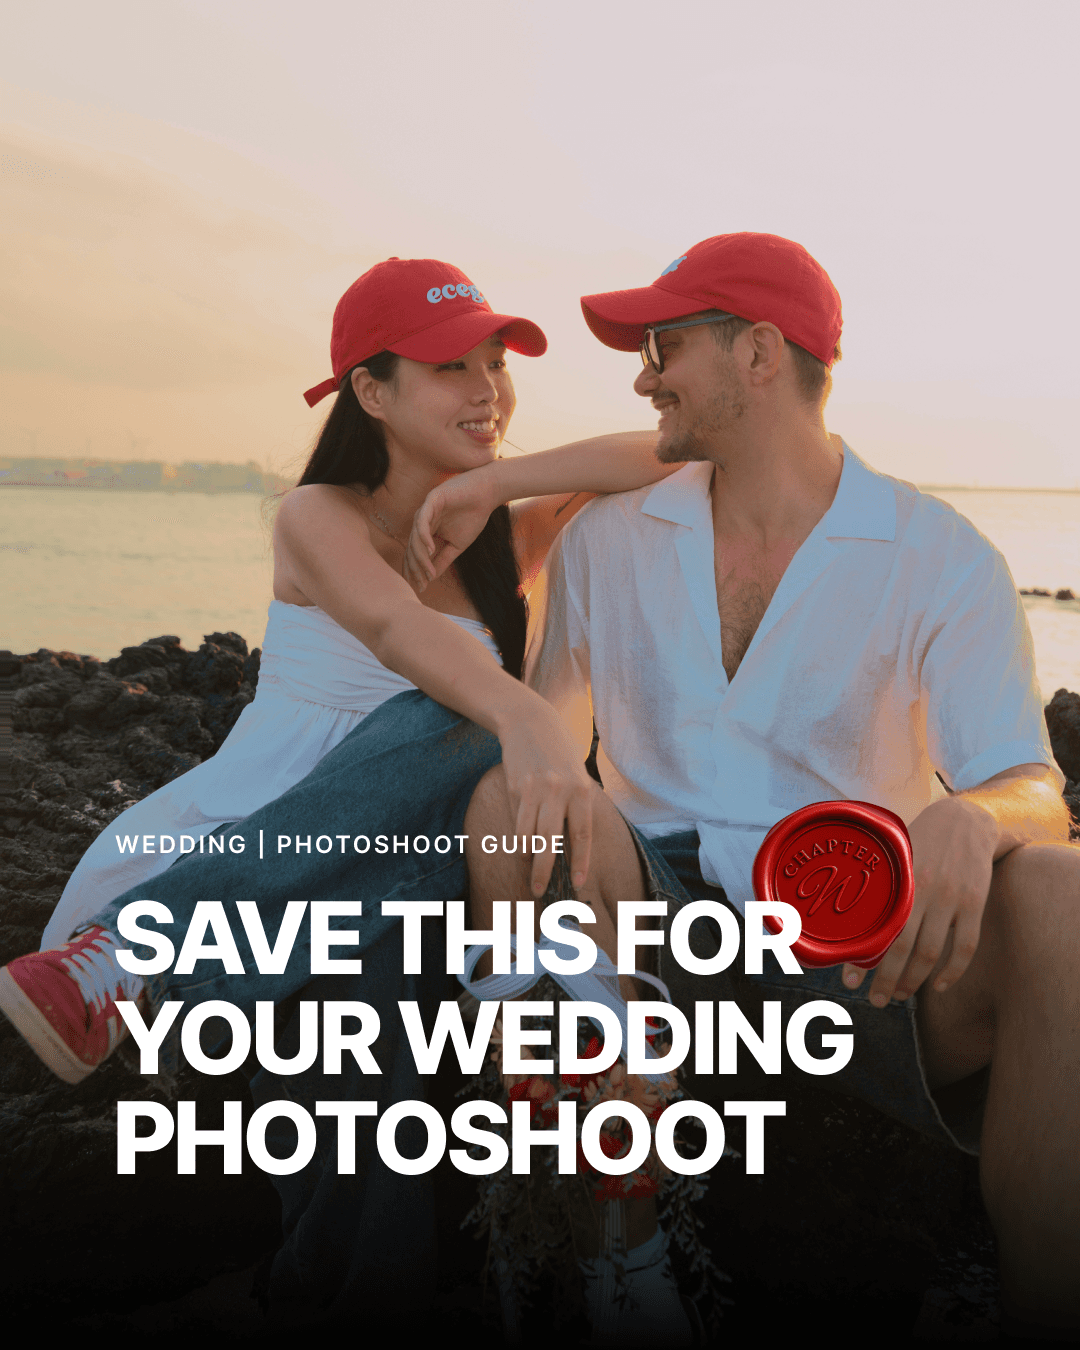
How we created our own moodboard (step-by-step)
Here’s the exact structure we used for our own shoot at Chapter Wedding — feel free to copy it.
We first chose the overall vibe we wanted. From there, everything else became much easier.
We then selected:
Location
Props that supported that mood
Poses
Camera angles
Lighting & time of day
Once those were defined, it became simple to communicate expectations clearly with our photographer — no guessing, no awkwardness.
Pro tips from our own experience
A few extra things we learned the real-life way:
⭐ mark must-have shots vs optional shots
⭐ share the full moodboard page in advance
⭐ more props > more outfit changes
(props add variety faster and keep hair/makeup intact)
⭐ brides: shoot with hair down first, then updo
→ this creates a dramatic “second look” without resetting everything
More tips and complete guide are always accessible through the buttons at the top of this page.